

BAYFOOD FASTS – Eid is literally a day or two away. I planned to make a dessert but ran out of time so a throwback to my mom’s Briyani will have to do. After all, we’re going to be feasting on all the things, anyway!
Why biryani, you ask? Because biryani is magical. It can be eaten on its own as a meal – that’s how delicious it is. I like to eat mine with Raita (yogurt) since it helps temper the spice a bit and it’s the perfect complementary sauce. When I was younger, my mom would make it with meat – usually chicken – but we (my sister and I) would just end up eating the rice around it. It’s actually pretty strange since most people LOVE the pieces of meat (Boti) that’s in the rice.
When I originally posted this, it was in response to so many people liking it randomly on Instagram! It’s also why I don’t have better pictures for it (yet). My mom had made it for friends when they were visiting me after the transplant, and the internet and my real life friends have loved it since! I’ve brought it holiday pot lucks as well. It took awhile to get the recipe down from her because she’s made so many of these dishes for years that it’s all from memory at this point. This is a vegetarian version of Biryani since it usually contains meat, so that’s a plus for all the herbivores out there!
Some of the ingredients listed below are found at Indian/South Asian markets or Middle Eastern Halal markets, such as the Shan Masala, garlic paste, and ginger paste. I know at least in the Bay Area, you can find some of these ingredients (like the pastes) in the Asian food aisles at grocery stores like Food Max.
Vegetable Biryani
serves 4-6
*Note: Regarding the Shan Masala (a pre-made mixture of spices): This recipe calls for the full packet to be used, and if you do, the dish will be way too spicy. If you would like your biryani to be spicier, you may add more masala. Be sure to taste it before adding more.
INGREDIENTS
- 6 ounces/half packet frozen mixed vegetables (usually corn, beans, etc.)
- 2 large onions, finely sliced
- 2 large tomatoes, diced
- 2 Serrano chiles, sliced in long strips (for milder taste, remove seeds)
- ⅓ cup oil
- 1 teaspoon salt (you can use less since masala has sodium it for lower sodium)
- ½ bunch cilantro, chopped
- ½ tablespoon garlic paste
- ½ tablespoon ginger paste
- 1 ½ tablespoon Shan Biryani Masala (more or less to taste)
- 2 cups basmati rice
- Slices of lime, for garnish
- Yellow food coloring (optional)**
- Before beginning to cook the rice, wash and soak the basmati rice 20 minutes before boiling. It’s really important to use basmati rice because other types of rice will affect the taste and texture, which will change the dish. At this time, also preheat the oven to 250 F.
- In a large, flat bottom pan or large wok, heat oil on medium heat. Add onions and fry until golden brown, then turn off the heat. Remove ½ of the onions from oil and put it on a plate lined with paper towel to soak up the excess oil. Set aside.
- Add the garlic and ginger pastes and cook for 30 seconds. Add tomatoes and the Shan Masala. Cook on medium heat for 2 minutes until tomatoes soften. *Note: if you cannot find ready-made garlic and ginger pastes in stores, you can always create your own.
- Add frozen vegetables and cook for 30 seconds. Add 1 ½ cup of water. Lower the heat to medium-low and cover the pan. Let it cook until vegetables are soft and there’s a slightly thick gravy starts to form. If the water dries, add more water to make gravy. At this time, check the salt and masala and adjust more or less according to your preference.
- In a separate pot, boil 6 cups of water. Add rice and 1 tsp salt. Cook until rice is ¾ cooked so it’s not fully soft. Drain rice in a colander. *Note: Rice is not fully cooked because it will finish cooking in the very final step.
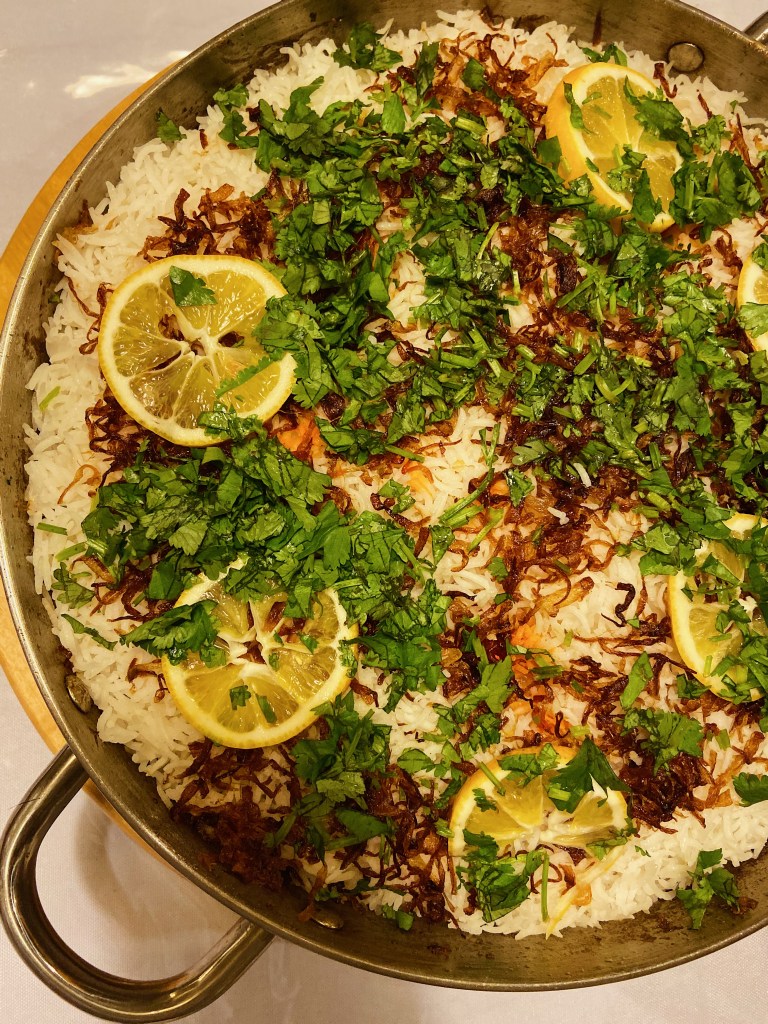
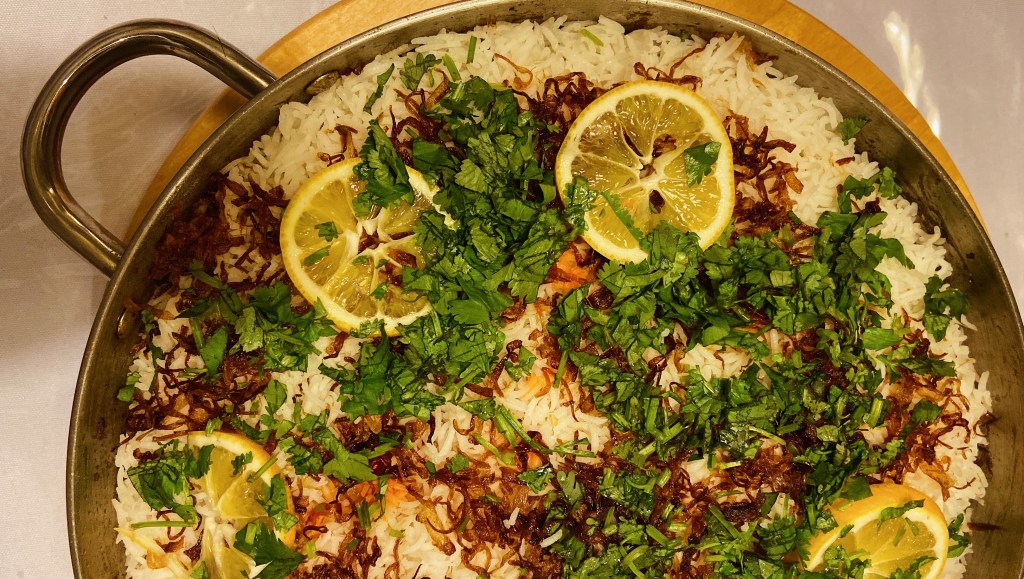
- In the large pot, keep half of the vegetable mixture in the bottom, layer half of the rice, and then half of the fried onions mixture and repeat. Spread green chiles, cilantro, lime slices, and the rest of the fried onions.
- Cover tightly with foil. Place in the middle of the oven for 20-25 minutes. During this time, the rice will finish cooking. In Urdu, this is called “dham,” which basically means to steam.
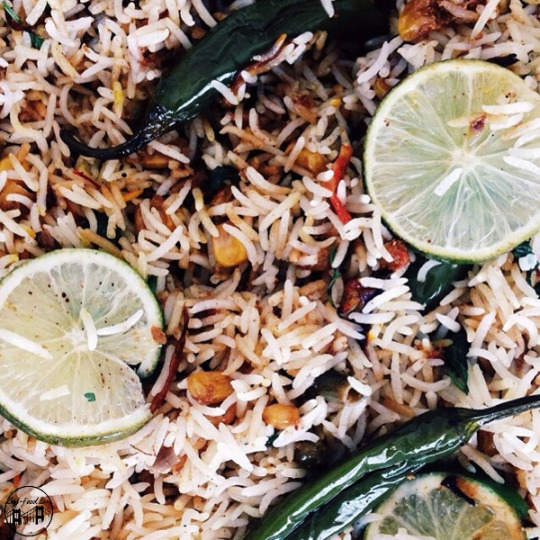
- Before serving, gently fluff the rice with a fork and transfer it to a platter or large dish, making sure you can see the vegetables spread out.
**If you are going to use food coloring (which is meant to give the biryani a more traditional look, as if it has saffron in it), drop 2 or 3 droplets in one spot, then move on to another spot. Do this in about 7 or 8 places. If you use powder food coloring, just sprinkle in 7 or 8 places. Complete this step before putting the rice into the oven.
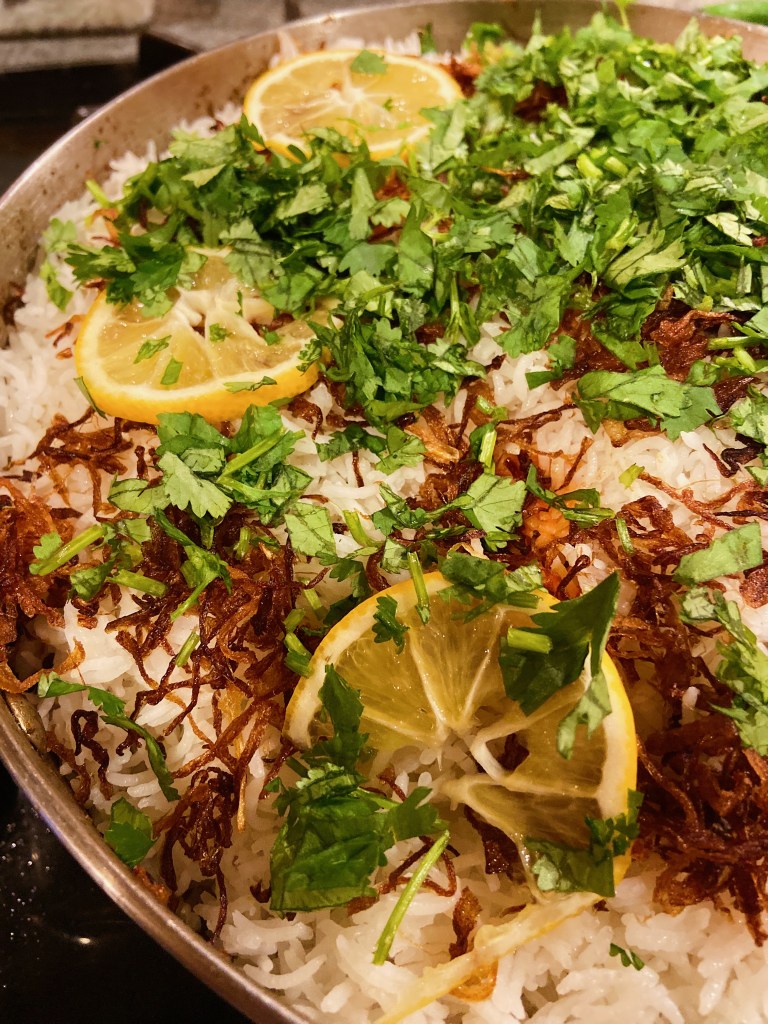
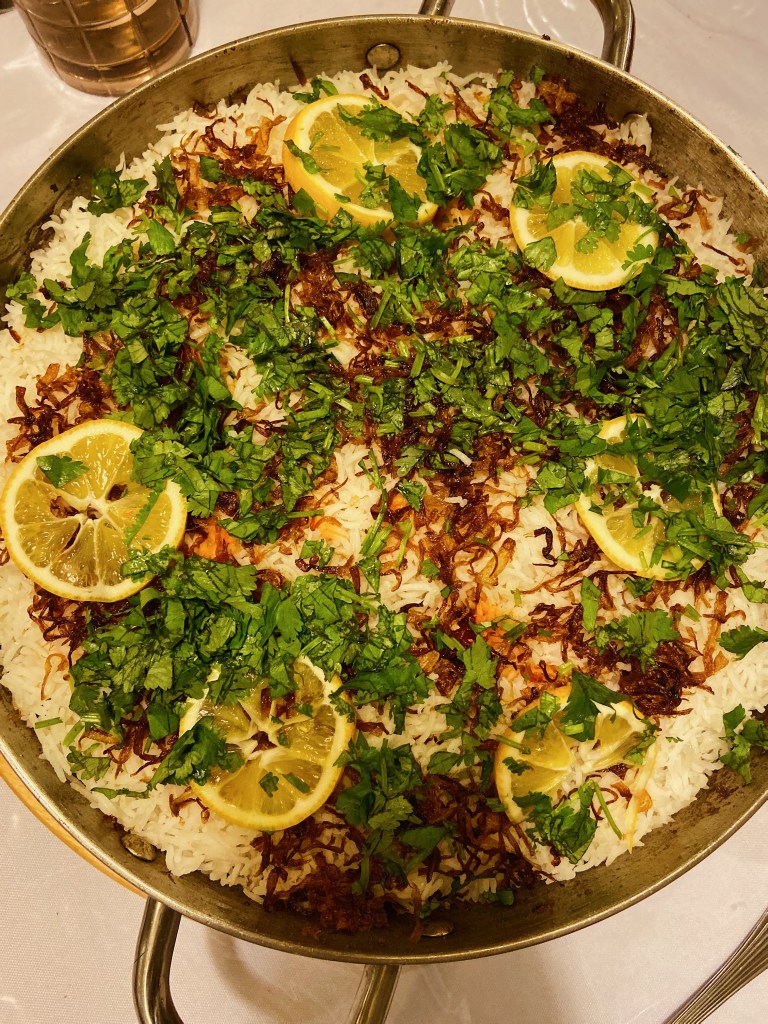
You get really delicious, fluffy rice as a result! Because the rice takes time to steam in the oven, all of the flavors get released and become well combined into the rice and vegetables. The slices of lime are put in before since the steam also releases the flavor of the lime and combines with the rest of the dish. We usually put less salt than usually directed to decrease the sodium amount and because the masala usually has a lot of sodium already. You can have this is as the main dish of your meal with raita or chutney, or it can be accompanied by chicken, kebabs, or even daal (lentils). It’s really up to you what you want to eat with it! My personal favorite will always be with raita.
My friends enjoyed it so much, we sent them home with it along with some butter chicken. They took it to work the next day!

4 thoughts on “Biryani”